I had been wanting to try growing mycelium for a while and a collaboration with a high school history teacher provided an opportunity. His class, titled "Food Fights", is focused on the history of the economics and production of food, so his students' assignment would be to design prototypes for food packaging with mycelium. While theirs is a history class, this would be an opportunity to learn about an amazing development in biodegradable packaging being developed by companies like Ecovative, so we took a quick look at some of their amazing products in development.
Here I'll outline our process and mention some things we learned in our first experiments with bio-fabrication. Here are a couple quick takeaways detailed below:
- the mycelium will grow slowly in lower room temperatures
- mycelium will not grow well if molds are too thin
Creating Molds
I instructed students to make their own containers using whatever materials they wanted. Most used cardboard, referring to a "cardboard techniques" reference for scoring, bending, and attaching cardboard, while one student used Legos. Every surface touching the mycelium would need to be covered with nonporous material, so they used packing tape. I explained the need for a smaller form to be set inside the outer form in order to make their form into a vessel but for some it took the hands on experience of making the outer form to see that they would need to make a second smaller shape for the inside. Some also didn't realize if their inner form all the way to the bottom of, say, a cylinder, there would be no bottom to their mycelial shape, so some forms had to be taken apart and re-made as part of an important iterative learning-by-making process.


Activating the Mycelium
I activated the mycelium 5 days before our next scheduled meeting so it would be grown enough to put in the molds.
I left the activated mycelium in the classroom over a long weekend. Upon return I found that not much had happened and I thought it wasn't ready to put in the molds, as you are supposed to see the white roots permeating the substrate and I saw little of that happening. I believe it was too cold in the room with the heat off over the 4-day weekend and temperature around the high 60s. So I put the mycelium bags over a heater for a couple days and we were able to delay the next meeting to accommodate the mycelium's process. After 8 days that wonderful white texture appeared to be present so we took the next step in the process.


Packing the Molds
Following the decontaminating routine suggested, we all packed our molds with the broken up and re-nourished mycelium. At this point some could see that their molds left little room for the substrate to fit but packed it in as well as they could.

The Results

Going clockwise from left the students' prototypes were designed to hold eggs, juice, salt/pepper, milk, and pasta. The main thing we learned from the cardboard molds is that the space the mycelium substrate will fit into needs to be sufficiently open for the substrate to fit into. Some molds contained too narrow a space for the substrate to fit between the outer and inner forms. The result was that there were gaps in the substrate the mycelium could not fill. The places where substrate was sparse tended to dry out so the mycelium could not flourish in those areas. The pasta container at the center above came out best as it was quite dense all around, and the bottom of it grew into a nice soft surface.

The Lego milk container had a wonderful Lego texture on the outside as the mycelium grew into the cracks of the Legos. But there was a smaller tower inside that was impossible to pull out as the mycelium was quite firmly attached to the inner Legos. The lesson learned from the Legos is that even a non-porous material may need to be covered with plastic wrap for easier removal.
My co-teacher and I made molds as well, and the above lessons bore out in our cases.
 |
| His 3D printed planter mold ended up too thin in one area but was otherwise a nice container. |
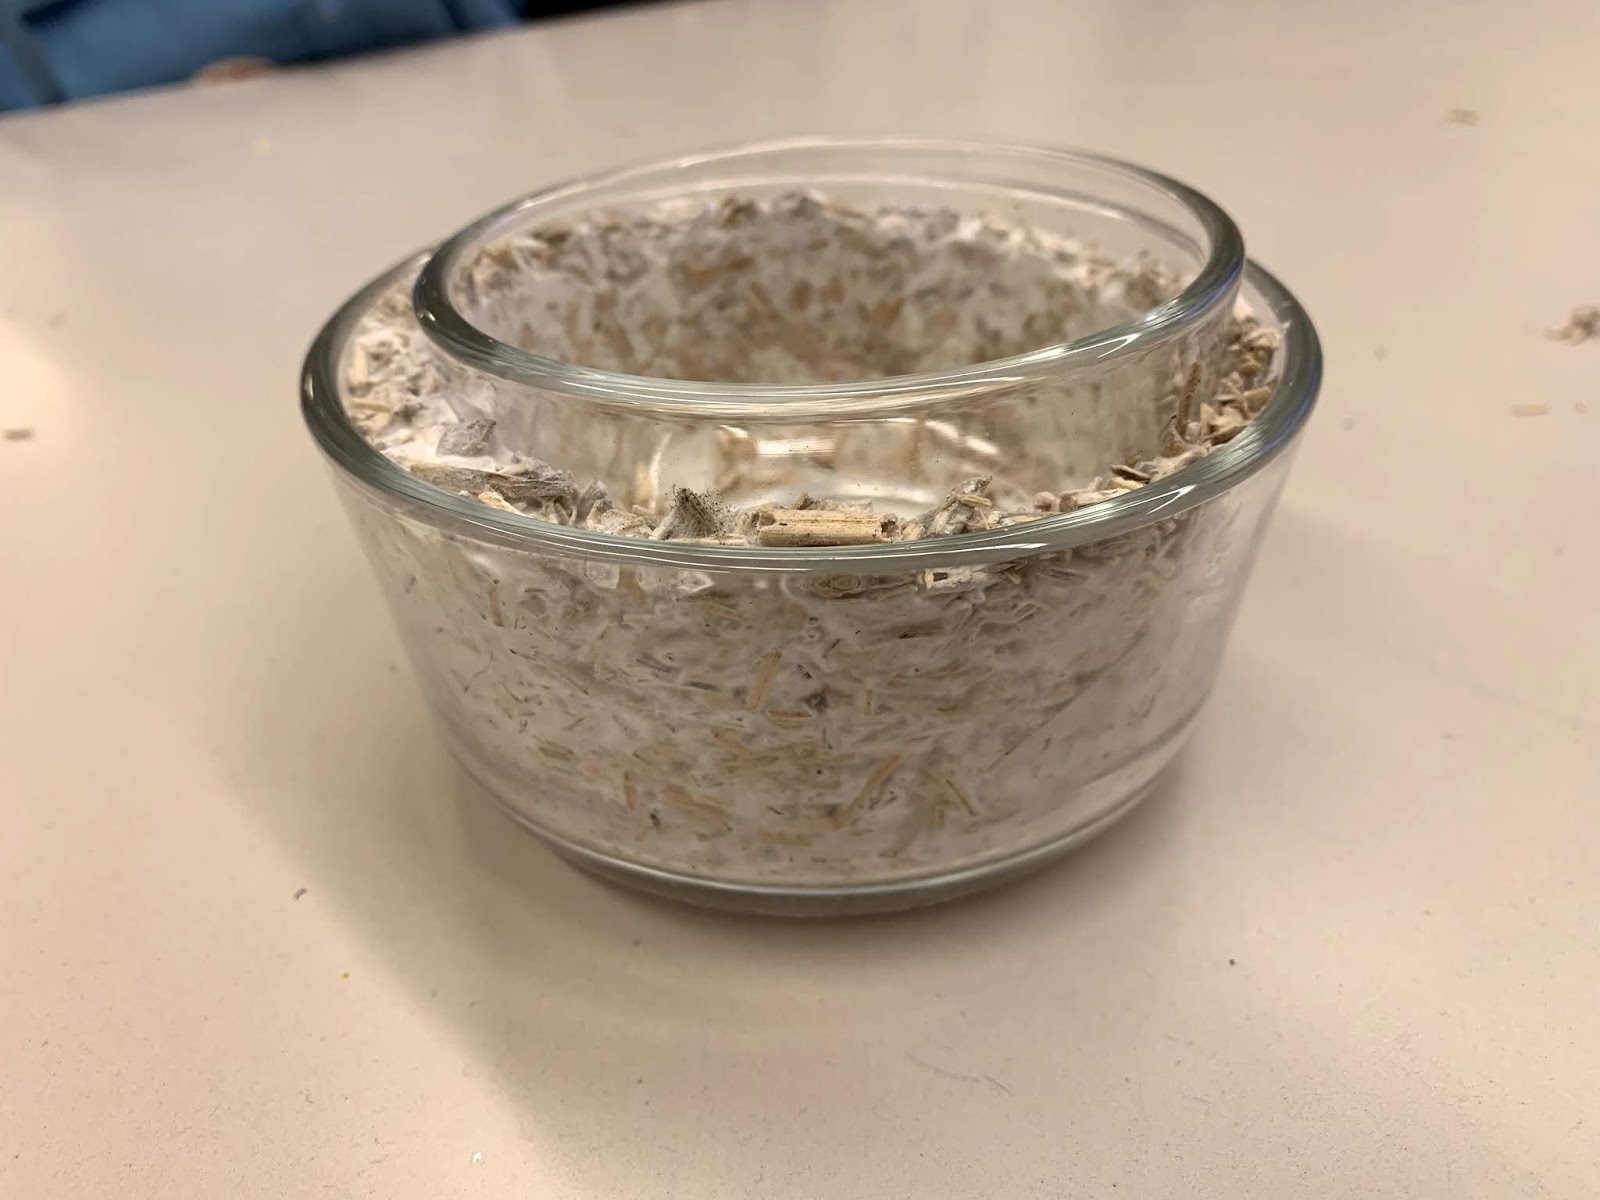
My bowl, solid cylinder, and box came out great! I even used the box to hold tools for a workshop later that week.


These other molds I did were not successful, being too thin.
 |
| Lattice milled on the Carvey... |
 |
| Way too thin |
 |
| LogoTurtle robot chassis, would have been cool. |
Drying
The instructions say to bake them for about 30 minutes at 200 degrees, or until 35% of its weight remains. I just left most of these pieces out for several days and they dried out fine without baking. I did bak the larger box piece I made.
Future Experiments
I would like to experiment with biodegradable substances for coating the pieces in the future. Someone suggested shellac, which I learned is a resin excreted by the female lac bug! This article is about making your own paint. Suggestions from Ecovative are beeswax, Entropyresins.com, and water based mineral paints.

1 comment :
Hi There,
Thank you for sharing the knowledgeable blog with us I hope that you will post many more blog with us:-
Buy Puerto Rican XL Mycelium box at the best price from psychedeliconlinestores.com. As typical, the Magic Mushroom Store
Email:info@psychedeliconlinemall.com
Click here for more information:- more info
Post a Comment